Turn Back the Clock: How to Create Your Own Custom Family Game
There’s a timeless charm to classic family games—they spark laughter, ignite a bit of friendly competition, and bring generations together around the table (or backyard). Whether it's a well-worn board game, a favorite card game, or a traditional outdoor activity, these games become part of our shared memories.
But what if you could make your own version of a favorite game—one that reflects your family's quirks, stories, and inside jokes? With a little creativity, you can design a custom game that’s not only fun to play but also uniquely yours.
Let’s dive into how to create your own personalized take on a classic family game.
Why You'll Love This DIY Project
Nostalgia Meets Creativity: Reimagine the games you grew up with, adding a modern or personal twist.
Totally Custom: From themes to rules, tailor every aspect to your family’s humor, interests, and traditions.
Budget-Friendly Fun: You can use materials already at home, making this a cost-effective activity.
Memory-Making: The process of creating the game is just as fun as playing it—especially if the whole family gets involved.
Step-by-Step Guide to Making Your Own Game
1. Pick a Classic Game to Reimagine
Start with a beloved favorite as your base. Here are a few popular picks:
Board Games: Candy Land, Clue, Monopoly, Chutes and Ladders
Card Games: Go Fish, Rummy, Uno
Outdoor Games: Hopscotch, Twister, Tag
Trivia Games: Trivial Pursuit, Family Feud-style quizzes
Think about what makes that game special—then brainstorm how to make it your own.
2. Add a Creative Twist
Choose a theme that reflects your family’s personality. For example:
Monopoly Remix: Replace properties with personal landmarks (e.g., “Grandma’s House,” “Beach Trip 2015”).
Family Trivia Night: Create categories like “Embarrassing Childhood Moments” or “Mom’s Famous Recipes.”
Backyard Twister: Use sidewalk chalk or spray paint to make a life-sized version outdoors.
Customized Card Deck: Swap standard suits or colors for themed icons or family photos.
Make sure your customizations enhance, not overcomplicate, the fun.
3. Gather Your Materials
You don’t need a craft store haul to get started. Use what’s already around:
Cardboard, cardstock, or poster board for boards and cards
Markers, pens, stickers, or stencils for design
Small objects like coins, buttons, or mini figurines as game pieces
Dice or spinners from other games
Index cards for trivia questions or challenge prompts
If you enjoy design, try creating printable elements using free online tools or apps.
4. Design Your Game Pieces and Rules
Break the game down into its basic parts and give them a creative makeover:
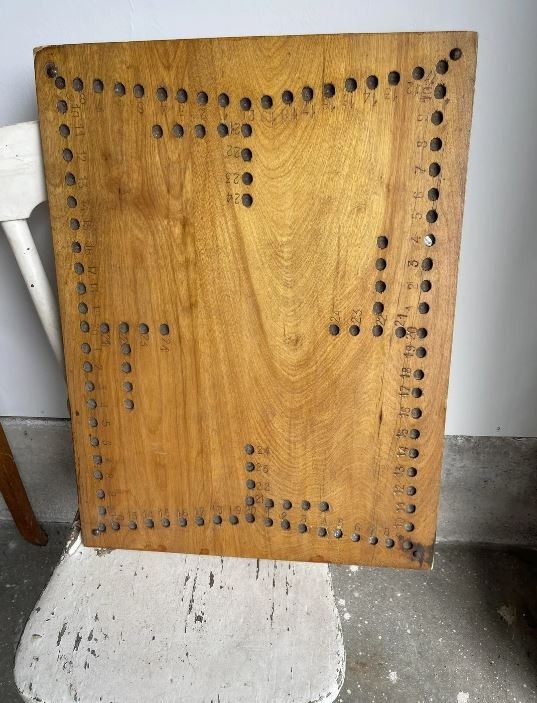
Game Board: Draw a path or grid, add spaces with funny or meaningful labels.
Cards & Prompts: Write custom trivia, dares, or instructions—whatever fits your theme.
Game Pieces: Use toys, photos, or DIY tokens that represent each family member.
Rules: Keep them simple, fair, and fun. Make sure all ages can enjoy the game.
5. Test It Out and Make Adjustments
Gather your family or a group of friends and do a trial run. Ask:
Does the game flow well?
Are the rules clear and easy to follow?
Is it fun and engaging for everyone?
Tweak anything that doesn’t quite work—this part is half the fun!
6. Add the Finishing Touches
Once everything’s working:


